

Introduction
A properly installed air brake system is critical for the safety and efficiency of commercial trucks. Faulty air brake lines can lead to pressure leaks, delayed braking response, or catastrophic system failure. This guide provides a detailed, step-by-step walkthrough of air brake line installation, covering layout planning, sealing techniques, pressure testing, and essential safety protocols. Whether you’re a fleet technician or a DIY enthusiast, this guide ensures your truck’s air brake system operates reliably under heavy loads and harsh conditions.
Section 1: Tools and Materials Checklist
Before starting, gather these tools and components:
- Air brake tubing (nylon or DOT-approved steel, 1/4” to 1/2” diameter).
- Push-to-connect fittings or flared brass fittings (ensure compatibility with tubing material).
- Tube cutter and deburring tool (for clean, smooth cuts).
- Leak detection spray (soapy water or commercial aerosol).
- Pressure gauge and test pump (capable of 150 PSI).
- Cable ties and protective sleeves (abrasion-resistant).
- Torque wrench (for fitting tightening).
- Safety gloves and goggles (mandatory for high-pressure work).
Safety Note: Always depressurize the system before installation and wear PPE to avoid injury from sudden air releases.
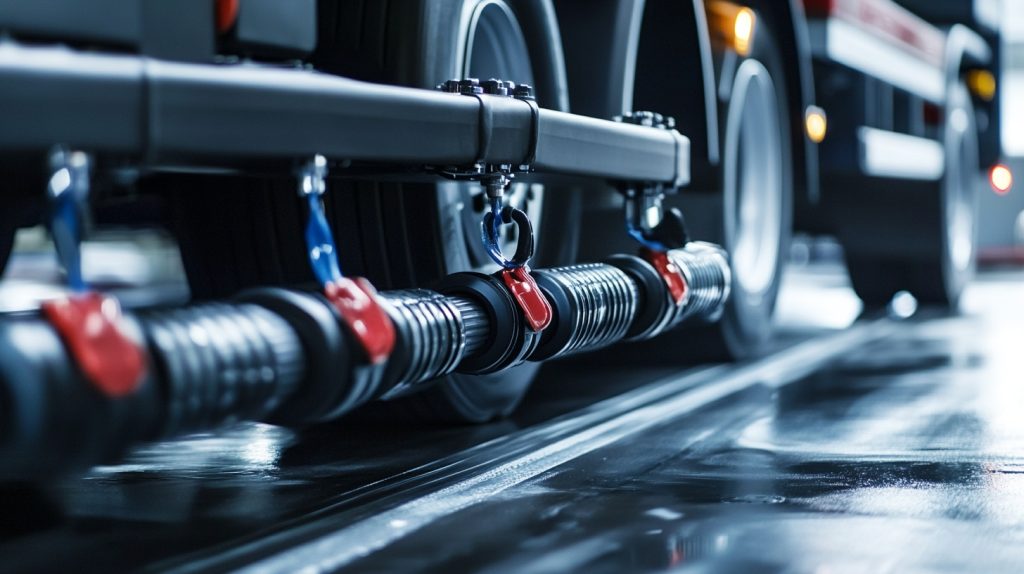
Section 2: Planning the Air Line Layout
Step 1: Map the Air Flow Path
Start by identifying the air flow sequence:
- Air compressor → wet tank (moisture separator).
- Wet tank → primary/secondary dry tanks.
- Dry tanks → brake chambers (via relay valves).
Key Tip: Use color-coded tubing (e.g., blue for supply lines, red for emergency lines) to simplify troubleshooting.
Step 2: Avoid Common Routing Mistakes
- Prevent friction: Keep lines at least 1 inch away from moving parts (e.g., suspension components).
- Secure lines: Use nylon clamps every 12–18 inches to minimize vibration.
- Protect bends: Maintain a minimum bend radius of 5x the tube diameter to avoid kinking.
Section 3: Cutting and Preparing Tubing
Step 3: Measure and Cut with Precision
- Measure tubing lengths with a 10% margin for routing adjustments.
- Use a tube cutter (not a hacksaw) to ensure burr-free ends.
- Deburr the cut edges with a file or deburring tool.
Why It Matters: Rough edges can tear O-rings or create turbulence, leading to pressure drops.
Step 4: Install Protective Sleeves
Wrap tubing in abrasion-resistant sleeves where it passes through frame holes or near sharp edges.
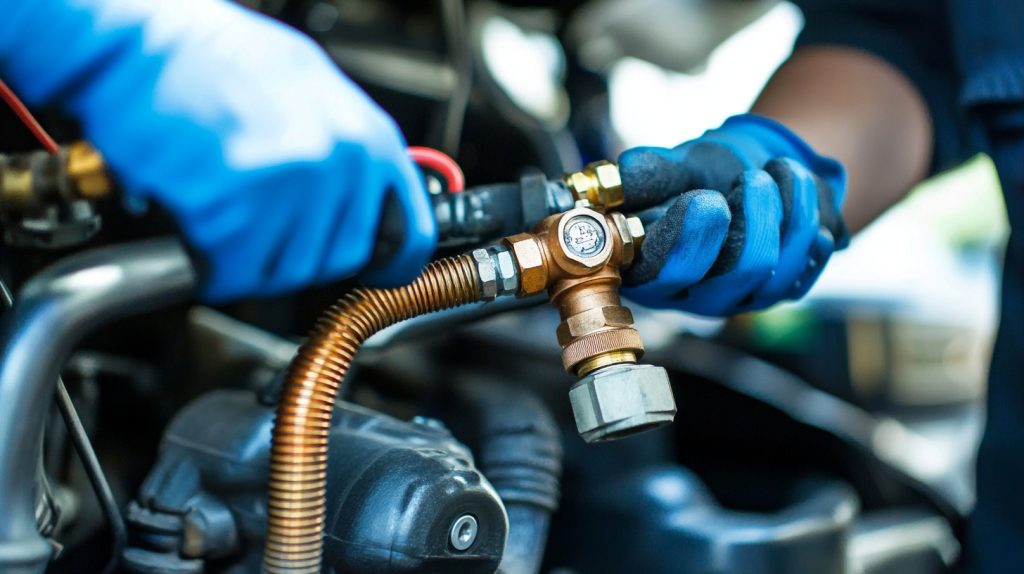
Section 4: Sealing Connections
Step 5: Fitting Installation Techniques
- Push-to-connect fittings:
- Insert the tube until it bottoms out in the fitting.
- Pull back gently to lock the collet mechanism.
- Flared fittings:
- Slide the nut and ferrule onto the tube.
- Flare the tube end using a flaring tool.
- Tighten the nut to manufacturer specs (typically 15–20 ft-lbs).
Pro Tip: Apply a thin layer of PTFE-based lubricant to O-rings to ease assembly and prevent dry rot.
Step 6: Avoid Cross-Threading
Align fittings straight before tightening. If resistance is felt, unscrew and restart.
Section 5: Pressure Testing and Leak Detection
Step 7: Initial Pressure Test
- Close all drain valves and connect a test pump to the system.
- Gradually pressurize to 100 PSI and inspect for audible leaks.
Step 8: Soapy Water Test
Spray soapy water on every fitting and connection. Bubbles indicate leaks.
Critical Checkpoints:
- Gladhands (trailer connections).
- Brake chamber diaphragms.
- Valve stem seals.
Step 9: Full-System Test at 150 PSI
Raise pressure to 150 PSI (max operating pressure) and monitor for 10 minutes. A drop >5 PSI indicates unresolved leaks.
Section 6: Post-Installation Best Practices
Step 10: Label and Document
Label each line with heat-resistant tags (e.g., “Primary Supply,” “Emergency Line”). Update the truck’s maintenance log with installation dates and test results.
Step 11: Schedule Follow-Up Inspections
Recheck connections after 500 miles of operation, as vibration may loosen fittings.
Common Pitfalls and Fixes
- Leaking Push-to-Connect Fittings:
- Cause: Tube not fully inserted or debris in the collet.
- Fix: Disassemble, clean, and reinsert the tube.
- Kinked Tubing:
- Cause: Over-tightened clamps or sharp bends.
- Fix: Replace the damaged section and reroute with proper bend radius.
Conclusion
A meticulous air brake line installation ensures your truck’s braking system delivers consistent, reliable performance. By adhering to these steps—mapping the layout, sealing connections correctly, and rigorously testing for leaks—you’ll mitigate risks of brake failure and comply with DOT FMVSS 121 standards. Remember: Cutting corners during installation can lead to costly downtime or accidents. When in doubt, consult an ACME-certified technician or refer to OEM guidelines.
Need Professional-Grade Parts? Explore ACME’s DOT-certified air brake lines and fittings here, engineered for extreme durability and leak-free operation.


